One of the most common misconceptions about custom pool design is that the process starts with picking materials. It does not. The process starts with understanding how you live, what you want the backyard to do for your household, and what your property can actually support. When the design process is done right, the result feels less like a pool that was installed in your yard and more like a backyard that was built for the way your family uses outdoor space. Here is how that process unfolds at CHR Builder.
Step One: Lifestyle Assessment
The first conversation is about you, not the pool. How does your household use outdoor space now? How would you like to use it if the space was designed around your goals? Are you building primarily for family recreation, for entertaining, for relaxation, or some combination of all three?
A household with young children has different priorities than a couple who entertains regularly. A homeowner who wants a quiet retreat has different design priorities than one who envisions weekend parties with a full outdoor kitchen and a spa. These distinctions shape every decision that follows, from the pool shape and depth profile to the placement of the spa, the scale of the deck, and whether a covered outdoor living area belongs in the plan.
This conversation also surfaces practical priorities. Some homeowners need the pool to be highly visible from inside the house for supervision. Others want a sense of privacy from neighbors. Some have young kids who need a shallow entry. Others want a deep end suitable for diving. Getting specific about how the pool will actually be used prevents building something that looks great on paper but does not fit the reality of daily life.
Step Two: Property Evaluation
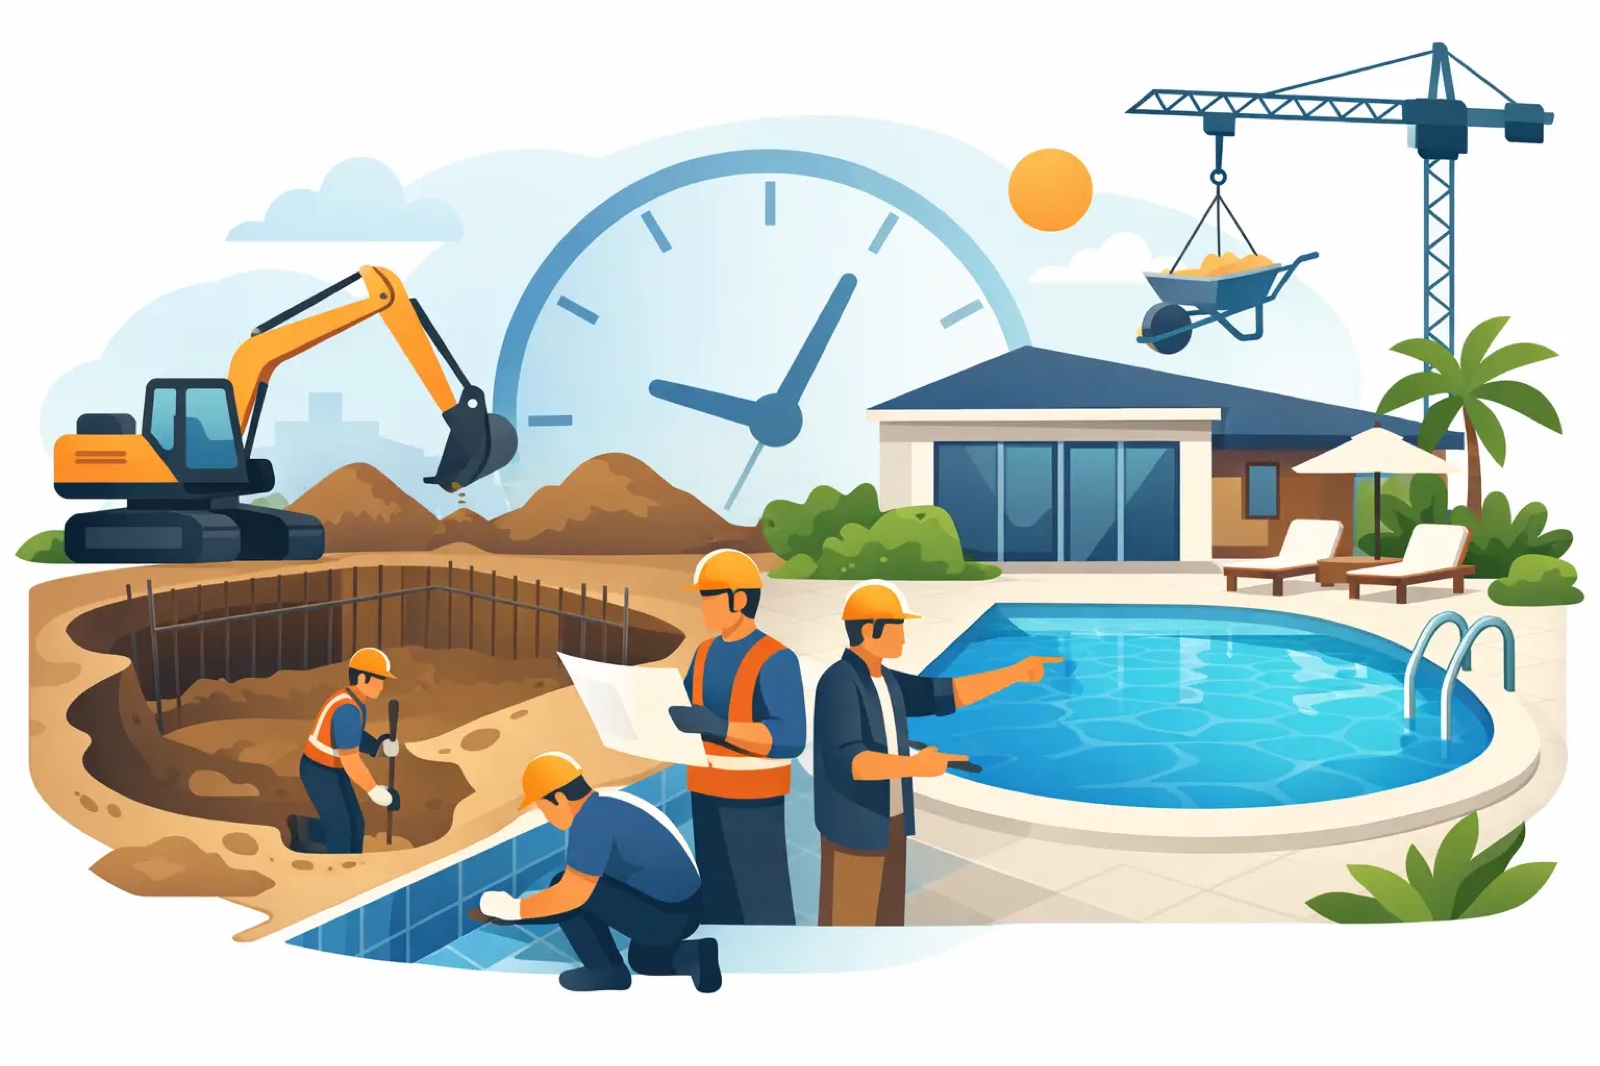
Once the lifestyle priorities are clear, the site itself tells us what is possible. We look at the lot from every relevant angle: property lines and setback requirements, elevation changes across the yard, existing drainage paths, tree locations and root zones, utility easements and underground lines, and access for construction equipment.
In the Houston and Katy area, the site evaluation always includes a serious look at soil conditions and drainage. Texas clay soil is expansive, and how water moves across and through a property affects how the pool and surrounding hardscape should be engineered. A yard that drains well and sits on relatively stable soil is a different engineering challenge than one with slope changes, heavy clay, or drainage constraints. None of these are deal-breakers, but they need to be understood before design begins.
The site evaluation is what separates a design built for your backyard from a generic rendering that happens to have your address on it. Any constraints the site imposes, setbacks, elevation, access limitations, drainage needs, are incorporated into the design from the beginning rather than discovered during construction.
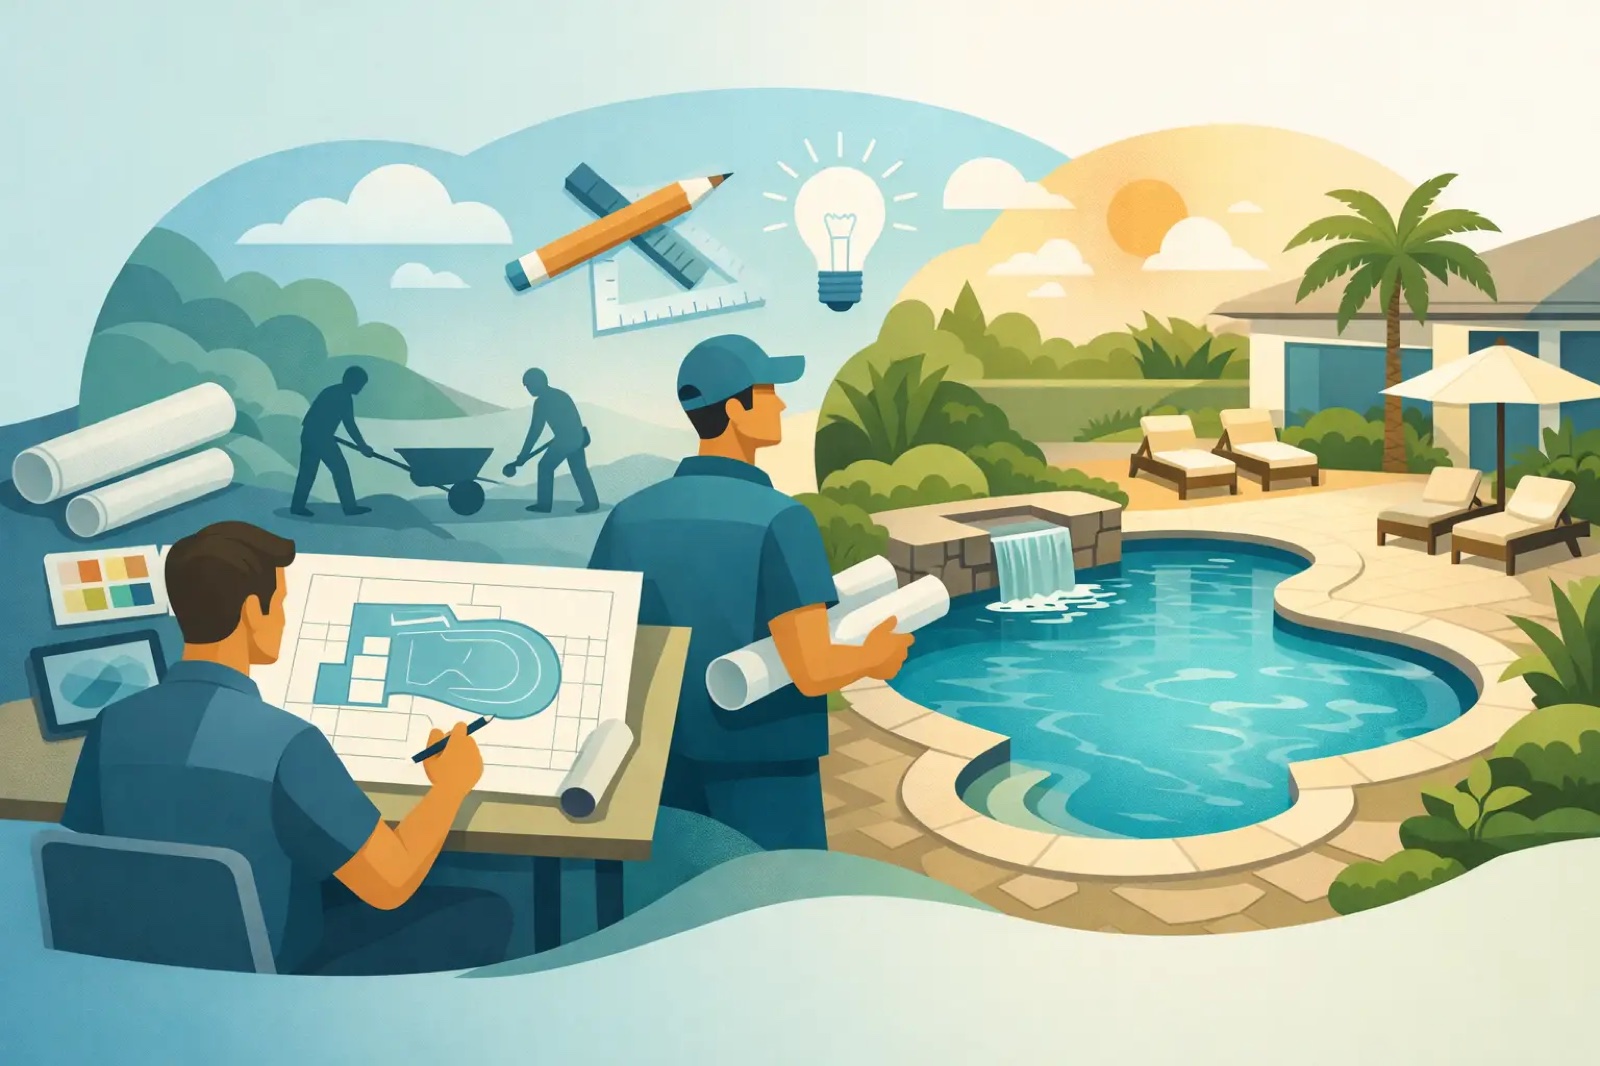
Step Three: 3D Design Development
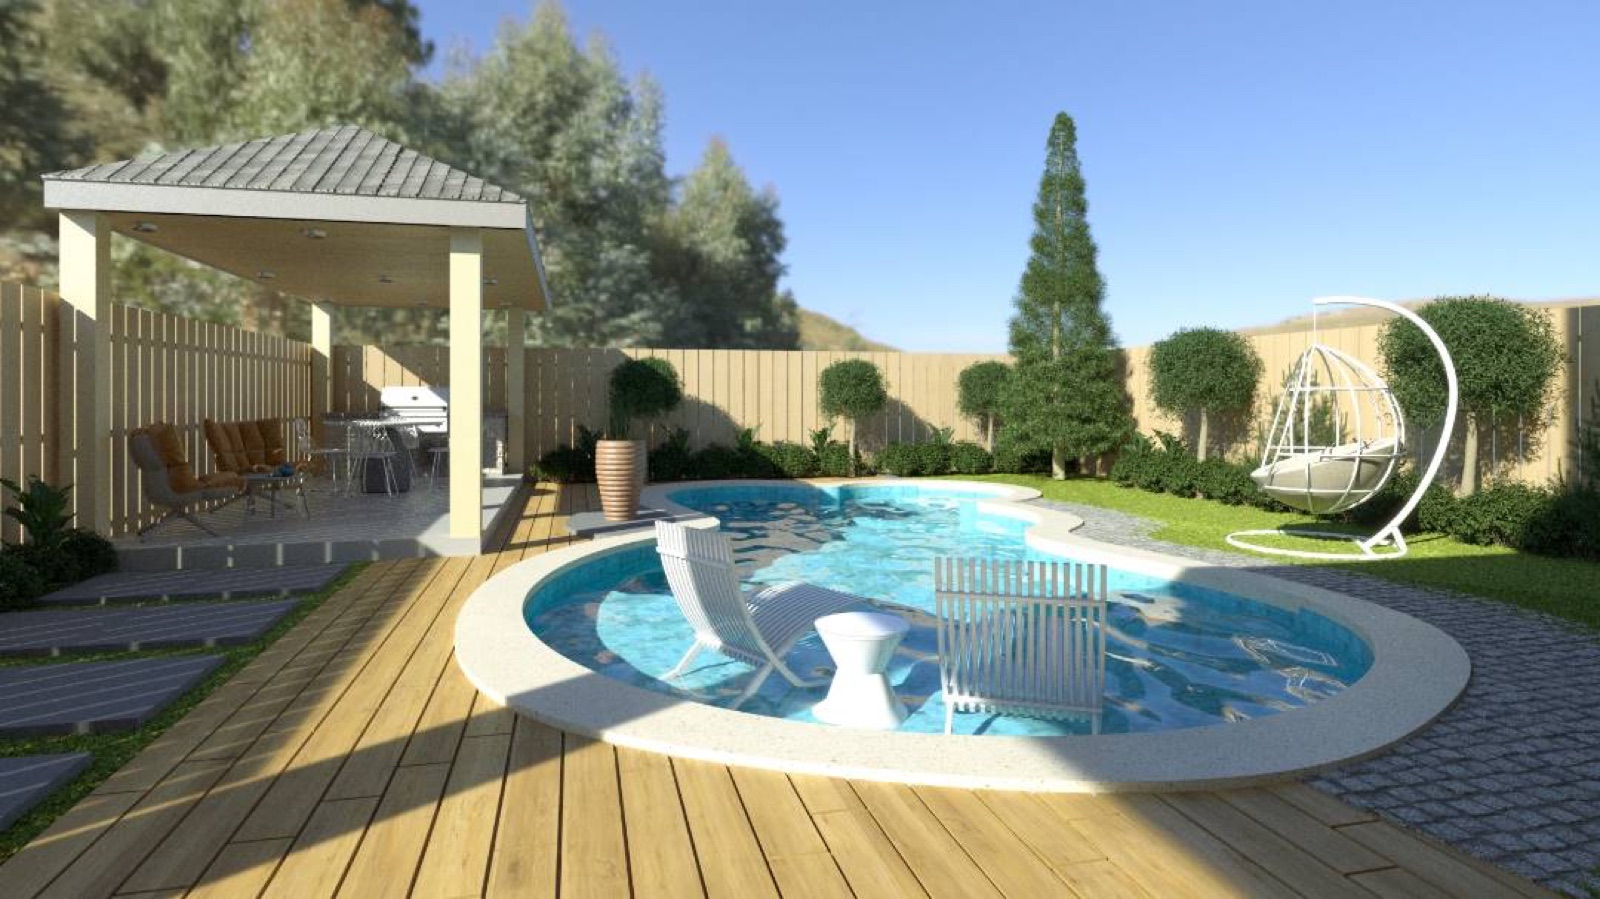
With a clear picture of your goals and the site realities, the design takes shape. We build a 3D rendering of the pool and surrounding space so you can see the actual proportions, the relationship between the pool and the house, how much deck space you will have, where features sit relative to each other, and how the overall layout feels.
This is more useful than a flat blueprint for most homeowners. It is much easier to evaluate whether a tanning ledge is the right size, whether the spa is positioned correctly, or whether the deck is wide enough for the furniture arrangement you have in mind when you can see the space in three dimensions rather than interpret measurements on paper.
The 3D design stage is iterative. We expect to make adjustments. The rendering is a starting point for a conversation, not a take-it-or-leave-it presentation. Moving the spa, adjusting the pool shape, adding a water feature, changing the deck material, all of these changes are easy and cost nothing in the design phase. The same changes after excavation begins are expensive and disruptive. Spending time in the design phase getting the plan right is worth it.
Step Four: Feature and Budget Alignment
Once the design is taking shape, the conversation shifts to feature selection and budget reality. This is where we talk honestly about trade-offs. Every feature adds cost, and the goal is to help you make decisions that reflect your real priorities, not just to put everything on the list and see what the final number looks like.
We help you separate the structural quality investments, which should never be the place to cut corners, from the aesthetic and feature choices where there is more flexibility. A pool built on a proper foundation with quality equipment and a durable finish will serve you well for decades. Upgrading to premium aggregate plaster adds a meaningful cost but also meaningfully improves the look and longevity. A spa adds significant value to year-round usability. A second sheer descent adds to the aesthetics but has less impact on function than the spa.
Having this conversation directly and honestly at the design stage means the final proposal reflects a project you actually want to build, at a budget that works for your household.
Step Five: Material Specification
When the features and layout are finalized, specific materials are selected. Interior finish, waterline tile, coping material, decking surface, equipment brand and model, lighting type, and any specialty elements are all documented in detail. The specification is what drives the proposal and, eventually, the construction drawings.
Material selection in Texas also means thinking about how each choice performs in the climate. Travertine coping stays cooler underfoot than concrete in direct sun. Certain tile finishes require more maintenance in hard water. Variable speed pumps reduce energy costs significantly over time. These practical considerations get factored in alongside aesthetics.
Step Six: Permitting and Construction Start
With the design finalized and the proposal signed, we take over the permitting process entirely. You do not need to interact with the city, county, or building department directly. We prepare and submit the permit application, coordinate inspections, and manage the permitting timeline. The only exception is HOA approval, which is the homeowner's responsibility, though we provide all the documentation you need to submit to your HOA and will answer any questions they have.
Permitting timelines vary by municipality and by season. Getting this process started promptly after the proposal is signed is important, particularly for homeowners targeting a summer completion. Once permits are in hand, construction begins.
Ready to Talk to an Expert?
If you want to understand what the design process looks like for your specific property and goals, our owner is happy to walk through it on a free 15-minute call. No obligation, no sales pressure. Just a straight conversation with the person who will build your pool.
Call us at (346) 481-3835 or book your free call at chrbuilder.com.